
Why fly a kite? Because it’s “an excellent way… to gain a feel for aerodynamic forces,” says NASA. Because we don’t look up enough. Because you can spend an afternoon adrift with the breeze for next to nothing. Whatever your reasons, kite-flying is one of the summer’s simple pleasures. And Brooklyn’s full of wide-open spaces where you can take part. Here’s how to put sticks to string and get your Ben Franklin up in the air.
First, speak the lingo. The traditional kite starts with a vertical spine or center stick joined to a horizontal spar or cross stick to make the frame. A cover is placed on the frame. The bridle line runs along the length of the spine, or along the spar. The flying line connects to the bridle at the tow point and winds and unwinds on the hand-held reel. Some kites include tails, or strips of ribbon at the bottom.
How to make the classic diamond kite (adapted from here)
You’ll need: thin twine or butcher’s string; tape or glue; plastic or paper bag, newspaper, fabric, etc. for the cover; a bamboo or wood dowel: one stick 90 cm, one stick 102 cm; and decorations to make it an aerial expression of self.
 Step 1: Lay the spine vertically, then place the spar horizontally on top (slightly above center of the spine). The spar should be divided equally, with the intersection making right angles. Secure with glue and twine.
Step 2: Score each end of both sticks deep enough to house the twine. Wrap twine around the frame, making small loops that extend from the top and the bottom of the center stick as you pass.
Step 3: Lay the frame face down on the cover material, cutting to fit plus an additional two to three inches. Wrap the excess over the frame and glue or tape.
Step 4: Tie a piece of string to each end loop on the spar, creating the bridle. And do the same along the spine— leaving an extra bit coming off of the bottom loop to create a tail. Add bowed ribbons to the tail.
Step 5: Attach the flying line to the middle of the bridle, creating the tow point. Wrap the fly line onto your reel.
Step 6: Decorate the cover.
The need-to-knows of flying
Launch somewhere clear from obstructions like trees. Prospect Park’s Long Meadow is a good spot (as are McCarren and Marine Parks), and remember “don’t do it with power lines in sight.” Proper winds for flight of a diamond kite should be between 5 and 16 mph. Never run to launch. Stand with your back to the wind and have a friend walk the kite out 50 feet. As it catches, release more line to gain altitude. Release tension to bring the kite back down.
If you want to get deeper in the world of kites:
Visit NASA for everything from kite history lessons to an explanation of the aerodynamics involved.
Check out five other kite design projects provided by Gomberg Kites.
Or for visual learners, watch some kite making videos:
1. Kite from a plastic bag. This lady frightens me.
2. Another kite, this one from a garbage bag.
3. For deeper explanations, search YouTube for the “How to make a kite” series.
4. Go three dimensions with a box kite.
5. Check out “your boy disco Shawn” for turning a profit on mini-kites.
Once you’ve mastered the art of towing the line, you may want to join the Brooklyn Flyers Kite Club or try your hand at aerial panogrophy using a kite. National Kite Month was back in April, but national kite season is just getting started. Happy flying.
Related Articles
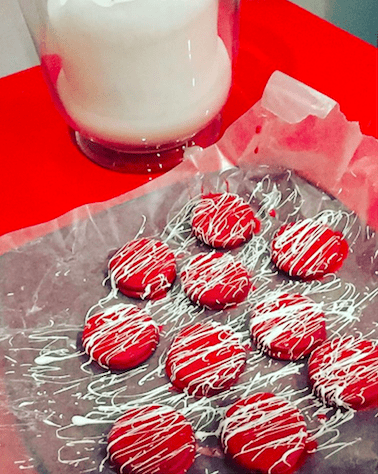
Recipe 4 luv: How to make delicious, chocolatey (and cheap!) DIY Valentine’s Day treats!
Valentine’s Day: though one could arguably claim that it’s a fake holiday created by card and candy companies, but we all buy […]
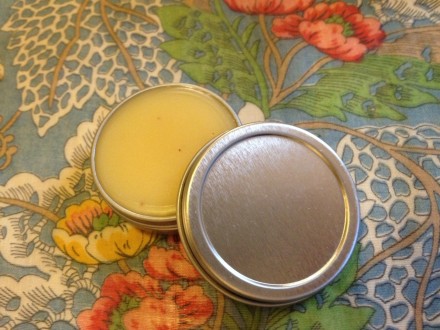
The Brokelyn guide to making your own lip balm
Pucker up, broke people! Are your lips cracked up like mine are every winter? If they ARE then you’re in luck, I […]
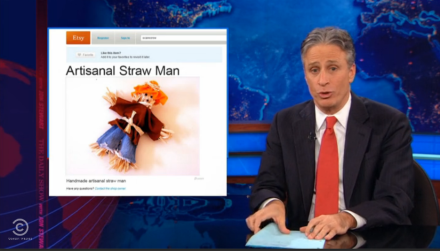
Crafter slam! The Daily show needles Etsy makers
Remember Paul Ryan? He was that child actor the Republicans hired to try to run in between Barack Obama’s legs while he […]
One Response to
Leave a Reply
Very nice kite, nice tutorial, thank u!
Greetz